


Are you considering expanding your revenue streams by incorporating an online shop into your Showit website? This post is your guide to seamlessly integrating an e-commerce store with Showit. Whether you’re planning to sell digital products, courses, or physical items, I’ve got you covered.
Looking for an easier way to integrate an online shop on Showit without doing the design part of it? You’ll love my Showit Olive Shop Page Template which comes with a main shop and single product page template. You simply plug it into your existing Showit website, make it match your current design and link your desired cart system.
Disclaimer: This post includes affiliate links. If you go through them to make a purchase, I will earn a commission. Keep in mind that I only share about companies that I truly believe in and use myself! For my details on affiliate links, please visit my terms of use.
How to Add an Online Shop on Showit
Is Showit The Right Choice For Your Store?
Showit stands out as an exceptional website platform, especially from a designer’s perspective. However, it’s important to understand that Showit isn’t designed as a full-fledged e-commerce platform. Instead, it allows you to easily integrate Buy Buttons from third-party platforms like Shopify, WooCommerce, Square or ThriveCart using embed codes.
Now, you might wonder why you should choose this approach when you could create your shop directly on Shopify. While Shopify offers fantastic templates, Showit shines when you’re looking for a user-friendly, unique website without the need for coding. It’s also beneficial if your website is already on Showit.
I recommend Showit primarily for service-based businesses or smaller online stores with 20 products or fewer. Showit isn’t designed as a dedicated e-commerce platform, and I don’t recommend it if your primary goal is to establish a large-scale e-commerce business (for that purpose, Shopify is the better choice). I also have clients who have their main website on Showit, and only their shop is hosted on Shopify – for the best of both worlds.
However, if you’re a photographer selling presets or a life coach offering courses, Showit is an excellent fit for your needs. I recommend building your shop using a Showit website template or hiring a professional designer for a custom Showit website design to assist you, as creating it from scratch can be a bit time-consuming and complex.
1. Selecting a Cart System for Your Shop
To enable a payment and checkout system on your Showit website, you’ll need a third-party platform. The flexibility here lies in your ability to choose the cart system that aligns with your business needs. You’ll design your entire shop within Showit and then effortlessly integrate Buy Buttons into the website using embed codes.
Shopify Starter
The Shopify Starter Plan is a popular choice among Showit users due to its affordability and compatibility with Shopify’s robust platform. To get started, you’ll need a Shopify Starter account to set up your products, manage payments, and configure shipping options. Once your products are ready, you can seamlessly add Buy Buttons to your Showit website.
Shopify Lite Pros:
- Customers Can Add Multiple Products to Cart
- Affordable at $9 USD/month
- Ability to Use Some Shopify Apps
Shopify Lite Cons:
- Cart only appears on the side when a product is added
- Checkout opens in a new window
ThriveCart (My Favorite)
I have personally used ThriveCart for years for my template shop, and I HIGHLY recommend it. While it involves a larger one-time investment, it’s an excellent choice if you frequently create sales funnels and need built-in payment plan options. ThriveCart offers lifetime access, making it cost-effective in the long run.
Now the real deal is that it’s a one-time payment for not only the cart system but also: affiliate programs, online course section & more. This is available on the Pro version. If you think about the monthly costs of cart systems, it adds up over the years—choosing ThriveCart is a no-brainer. Get lifetime access right here for a limited time! You only have to pay once, no monthly fees.
ThriveCart Pros:
- One-Time Fee for Lifetime Access
- Payment Plan Options
- Other Great Features: Affiliate Program, Upsells/Downsells, Flexible Checkout Page Design (check out mine right here), sell subscriptions, and integration with various platforms.
ThriveCart Cons:
- Recommended for sales funnels, limited-time offers, digital downloads, or higher-ticket items.
- Customers can only add one item to the cart (although you can add upsells to that checkout page).
- Might Require a 3rd Party Platform for Product Fulfilment
Other Cart Systems
There’s many other options that may be best suited for your business! Here are more cart systems to explore:
- WooCommerce – What I use for my own shop now! You’ll need to be on the highest Showit plan to use, as it’s a WordPress plugin. This is the best option as it is integrated directly on your Showit website. But I do recommend hiring a developer/skilled designer to set it up if you’re not familiar with it as it is complex to set up.
- Flodesk Checkout
- Any course platform (e.g. Kajabi, Teachable). You can link your buttons to redirect to a Kajabi cart page for example.
How to Design the Shop Pages on Showit
Designing your shop pages on Showit can be straightforward if you’re familiar with the process. However, I recommend starting with a Showit template or hiring a designer (like myself!) to simplify the process.
Looking for an easier way to integrate an online shop on Showit without doing the design part of it? My Olive Shop Template comes with a main shop and single product page template. You simply plug it into your existing Showit website, make it match your current design and link your desired cart system.
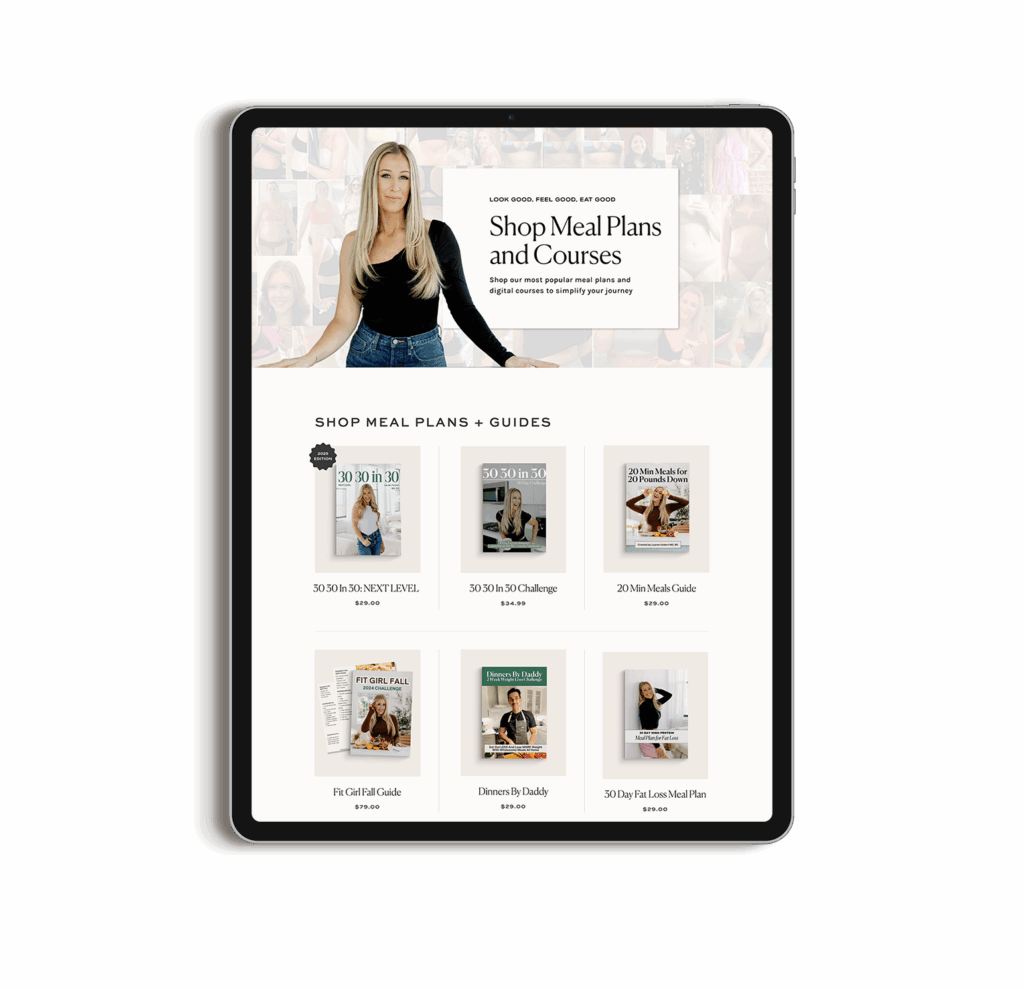
Design the Main Online Shop
Begin by designing the primary shop area where you’ll showcase all your products. For example, you can create one row with three images and titles underneath similar to the design below. To streamline the process for you and your customers, I suggest designing a single row and duplicating it for the number of products you have.
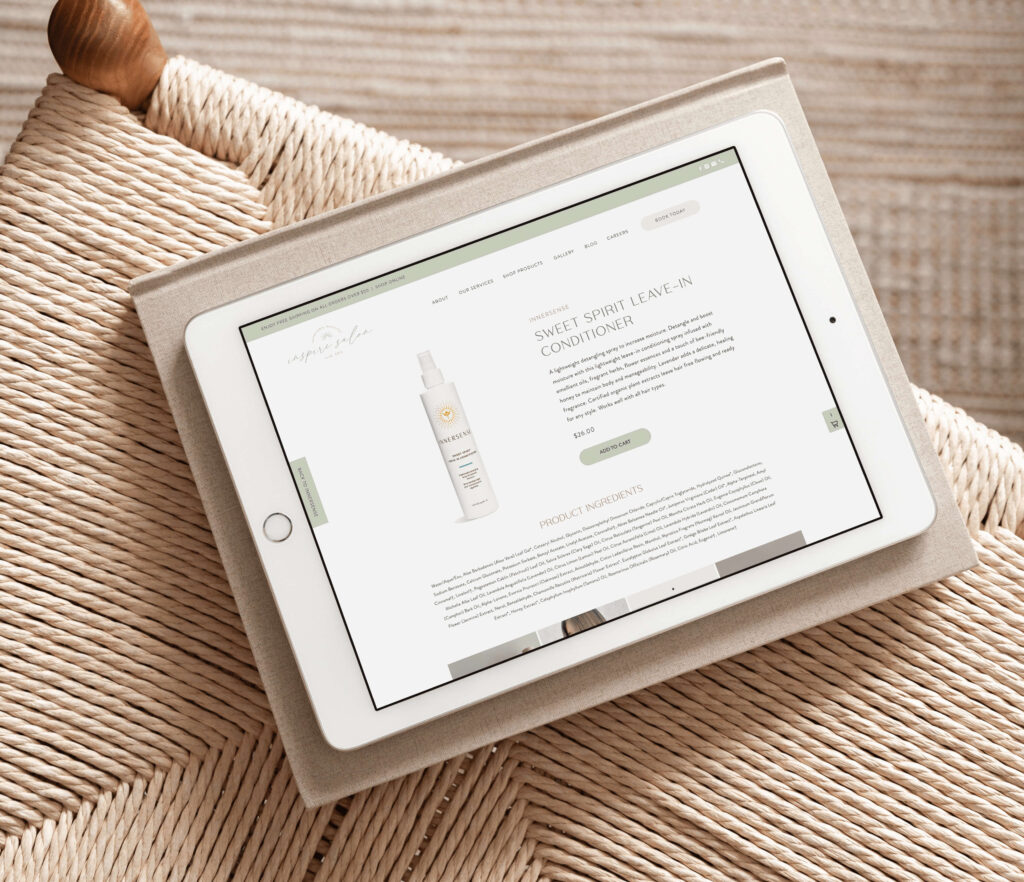
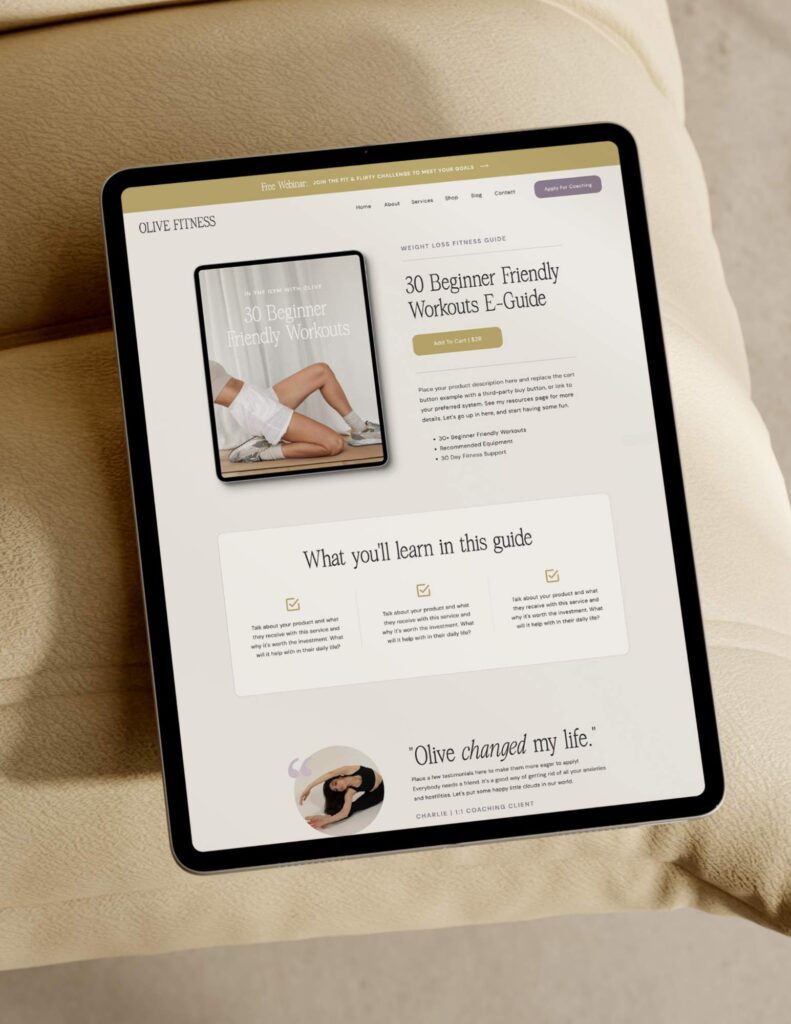
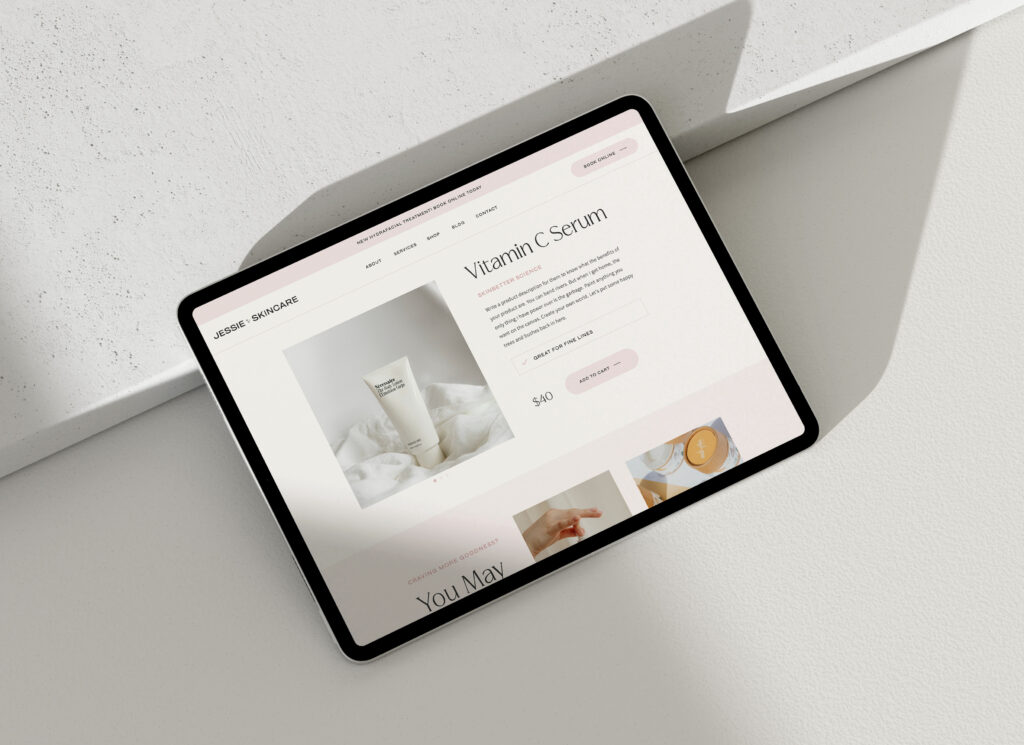
Designing the Product Page
You’ll design a single product page that will serve as a template for each product. In this example, you can place an image on the left side and product information on the right. You have the flexibility to get creative here, with options like separate canvas views for a product tab menu (for descriptions, ingredients, disclaimers, etc.). Once you’ve completed the main product page design, duplicate it for each product, updating the page name, images, titles, and descriptions accordingly. On each product page, add an embed code with the buy button that links to the specific product.
Launching Your Online Shop
After creating all your product pages, set click actions for each product on the main online shop page, directing them to their respective product pages. Before launching to the public, thoroughly test your setup to ensure all products on the main shop link correctly to their corresponding product pages, and that all buy buttons function as intended. Once everything is linked and working seamlessly, your online shop is ready for launch!
Ready to Add a Shop to Your Showit Site?
Now you know the options for adding an online shop to your Showit website, but let’s be honest: setting everything up and designing a shop that actually looks professional and converts takes time.
We can help you launch your shop faster with two options:
Option 1: Grab Our Shop Page Template ($80)
Skip the design work and get our Olive Shop Page Template, which includes both a main shop page and single product page. It’s professionally designed, fully customizable to match your brand, and ready to connect with ThriveCart, Shopify, or any cart system you choose.
Just duplicate the pages, add your products, link your checkout buttons, and launch. No design skills required. Get the Olive Shop Page Template →
Option 2: Go Fully Custom
If you’re ready for a complete custom website with an integrated shop experience built specifically around your products and brand, our custom website design services are the perfect fit.
We’ll design your entire site (including your shop) from the ground up, create a seamless shopping experience, handle all the technical setup, and train you to manage everything confidently after launch.
View Custom Website Design Packages →
Not Sure Which Option Is Right for You?
Choose the template if: You want to launch quickly, have a limited budget, and are comfortable customizing a pre-designed layout.
Choose custom design if: You want something completely unique, need strategic guidance on your shop setup, or want a full brand and website experience.
Stop letting the tech and design overwhelm keep you from selling your products online. Whether you go with a template or custom design, we’re here to help you create a shop you’re proud to share!
Disclaimer: This post includes affiliate links. If you go through them to make a purchase, I will earn a commission. Keep in mind that I only share about companies that I truly believe in and use myself! For my details on affiliate links, please visit my terms of use.

Feminine, Clean, Modern
Jessie Showit Template
Compatible With:

Budget-Friendly Showit Templates: Designed to help beginners create stunning websites with confidence. Starting at $275.

Bold, Editorial, Luxurious
Hailey Showit Template
Compatible With:


Inviting, Clean, Calm
Stacey Showit Template
Compatible With:

flodesk Email Templates
Showit Website Templates

Welcome Email Template
Jessie Flodesk Template
Compatible With:

DIY Email Templates: Pre-designed email templates that help you connect with your audience and grow your business.

Welcome Email Template
Hailey Flodesk Template
Compatible With:


Package & Pricing Email Template
Audrina Flodesk Template
Compatible With:

flodesk Email Templates
Showit Website Templates
Shop Our Best-Selling Design Templates


We help create a strategic custom designs that reflects who you really are, helps you reach your biggest business goals, and positions you as the expert you are. From comprehensive brand strategy and logo design to custom Showit websites you can actually update yourself, we handle every detail so you don't have to. Let's create something you'll be proud to call yours.
We take the time to understand your vision (& bring it to life for you)
Certified Showit & Flodesk Design Partner, hundreds of happy clients worldwide, and 3 consecutive "Best Web Designer" awards in our county.

Maybe your website is pretty good, but something feels off and you're wondering if it's time for an overhaul? Our comprehensive website audit checklist helps you evaluate your current site like a pro. Find out exactly what your site needs.
Get Your free audit checklist
Not sure if you need a full redesign or just some tweaks?

