


Have you ever wondered how to create a workflow in Flodesk? If you’re an online service provider or business owner, you probably know that email marketing is essential for nurturing your audience and turning subscribers into loyal clients. But, manually sending emails every time someone signs up for your list or takes an action can be time-consuming. That’s where workflows in Flodesk come in to save the day!
In this post, I’ll walk you through what a workflow is, why it’s so beneficial, when you should use it, and most importantly, how to set one up in Flodesk. Plus, I’ll share how you can make your workflow even more effective with my custom Flodesk email design templates.
What is a workflow in Flodesk?
A workflow in Flodesk is a series of automated emails sent to your subscribers based on their actions. Think of it as a virtual assistant that keeps your email marketing running smoothly while you focus on other things.
Workflows can be simple or detailed, including welcome emails, follow-ups, and more. The best part? Once you set it up, it runs automatically!
Why use an email workflow?
You might be wondering, “Why should I bother with setting up a workflow in Flodesk?”
Here are a few reasons:
- It saves you time. Set up a workflow once, and it runs on autopilot, freeing up your time.
- It’s consistent. Every subscriber gets the same experience, building trust and a strong brand voice.
- It’s easy to personalize. Customize your emails according to your subscribers’ actions or needs.
- It’s engaging. Automated emails get more opens and clicks since they’re timely and relevant.
- It increases conversions. Nurture leads with a workflow to turn them into paying customers. (I mean, who doesn’t want that?!)
When should you use a workflow?
Workflows are versatile and can be used in so many different ways. It all depends on your business goals!
Here are a few common scenarios when you should consider using a workflow:
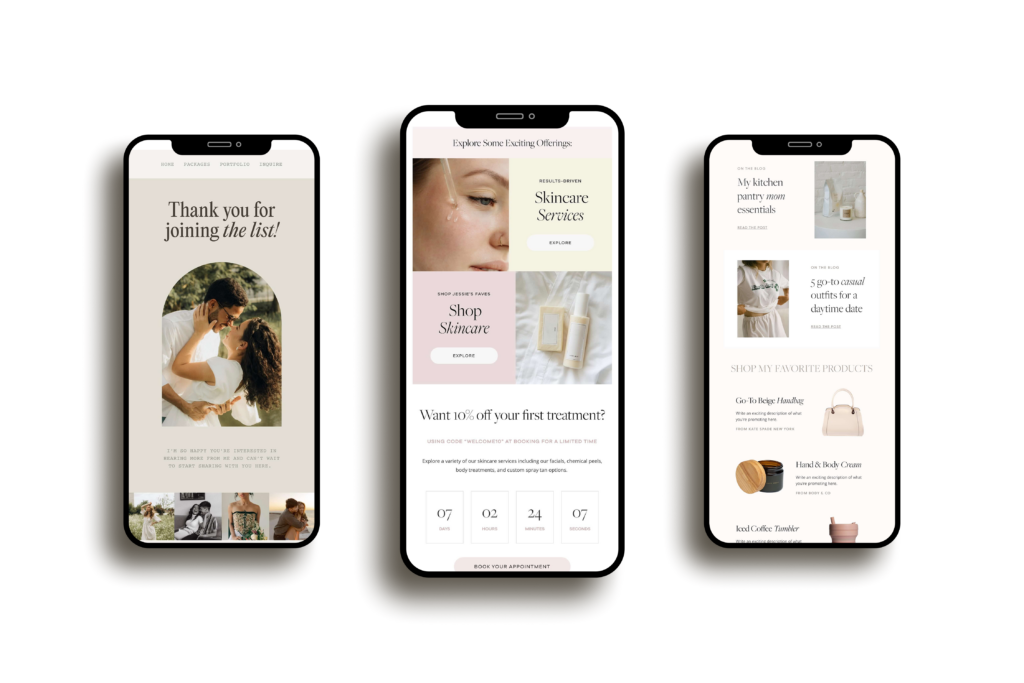
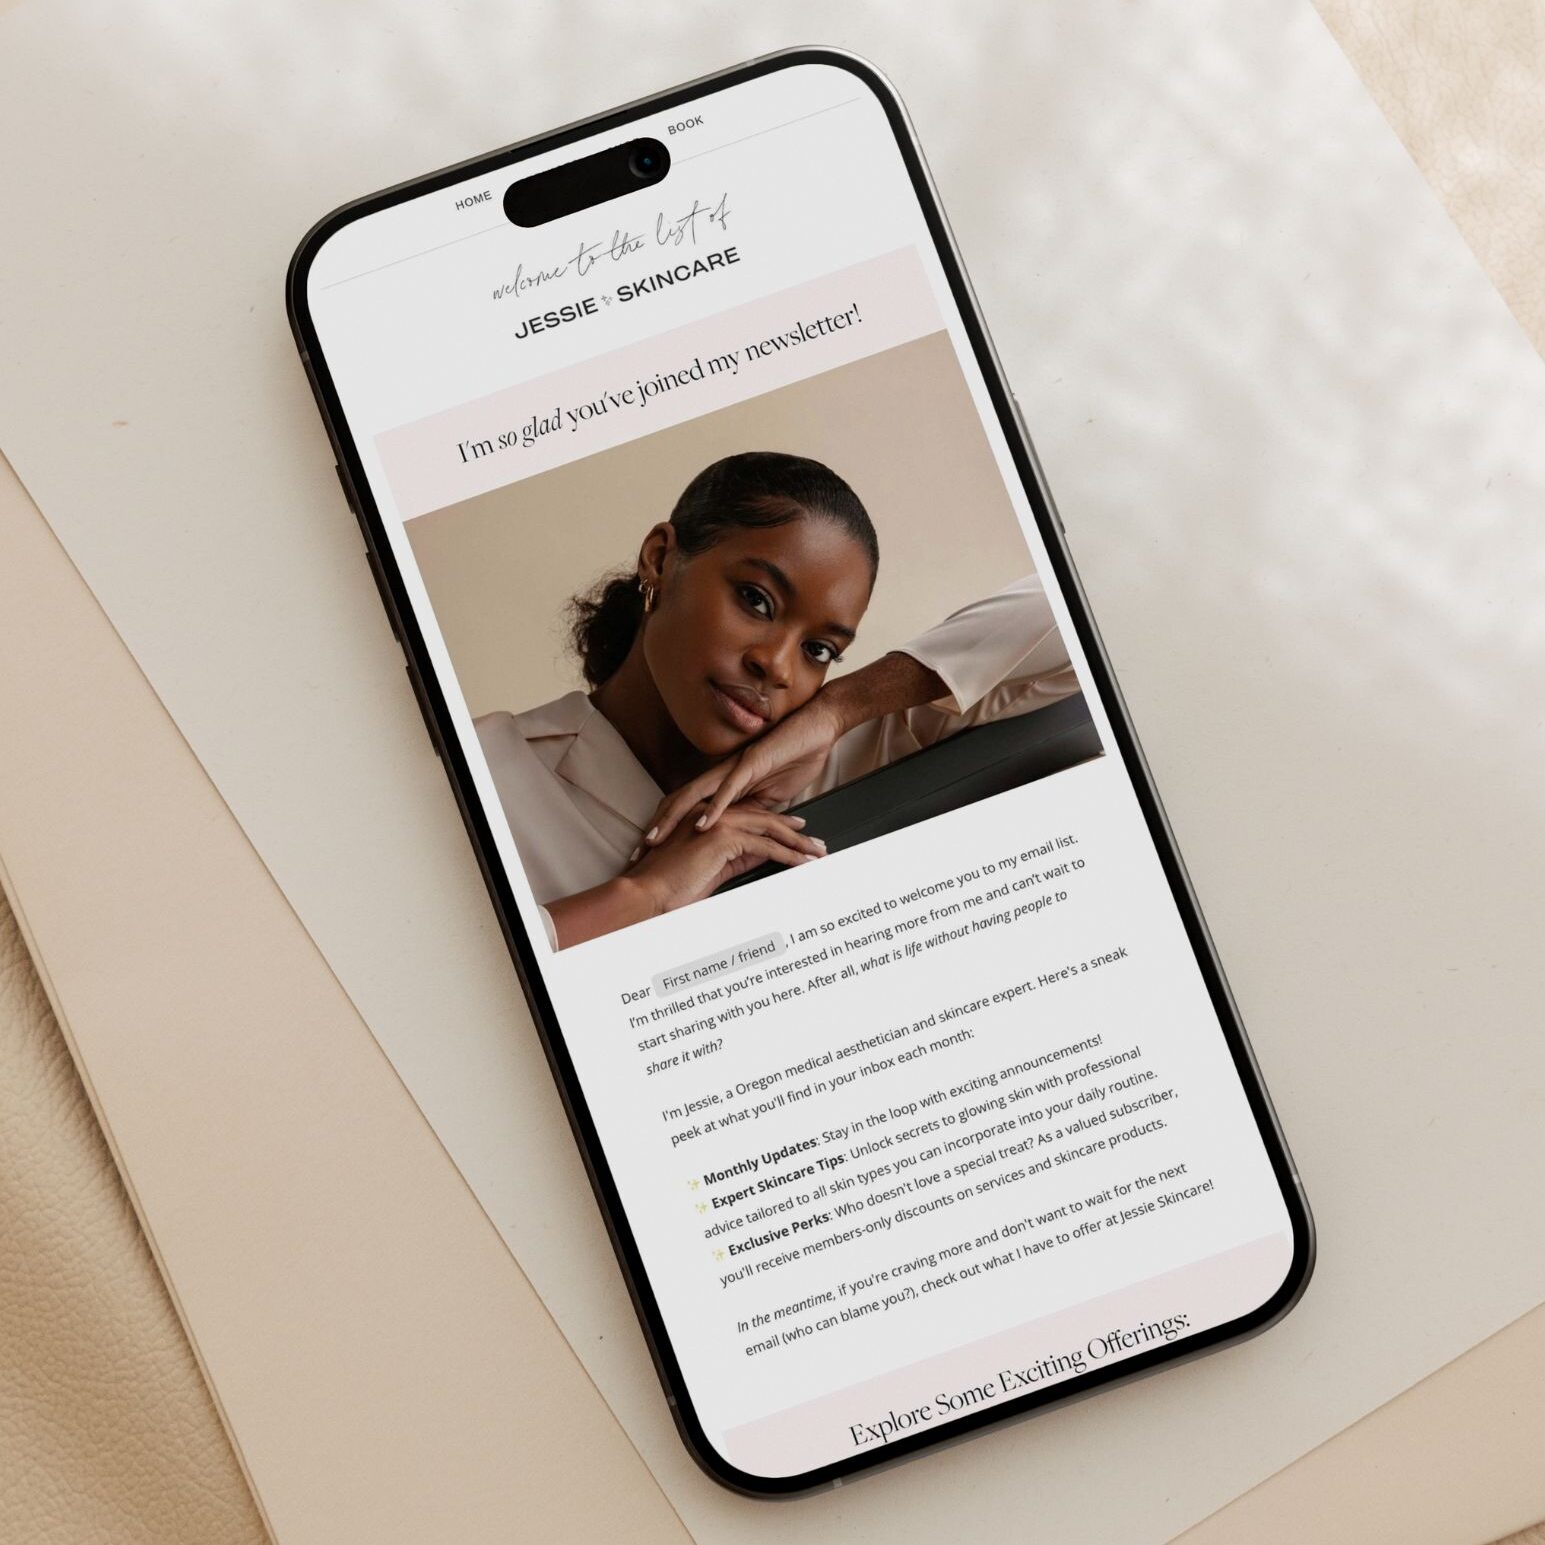
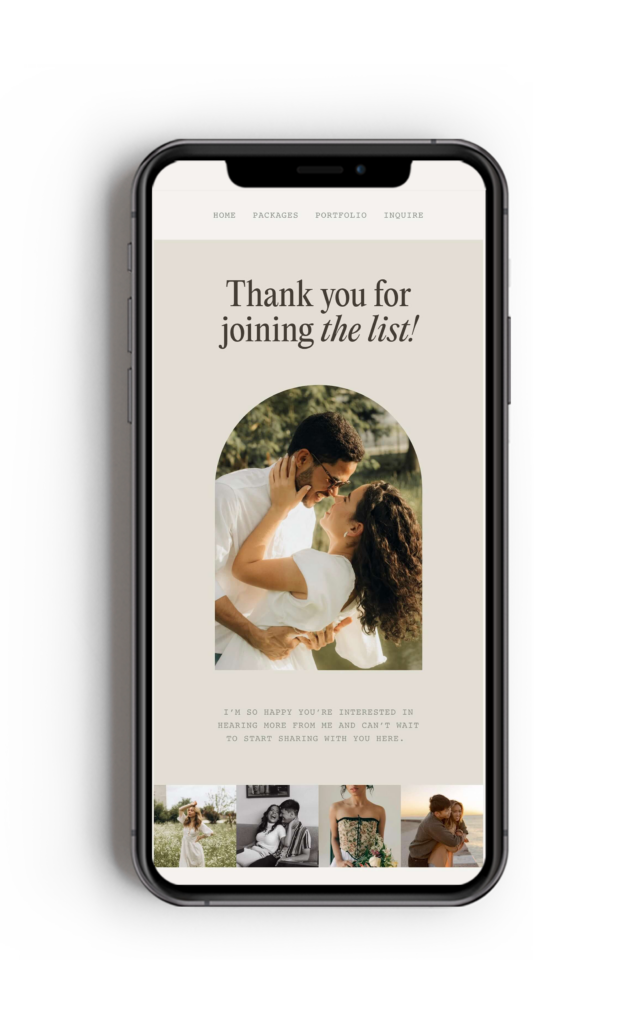
- Welcome Series: When someone new subscribes to your list, a welcome series can introduce them to your brand, set expectations, and guide them on what to do next. And if you’re looking for beautiful email Flodesk templates to get started, check out my Jessie, Hailey and Daisy welcome email templates– perfect for creating a great first impression with your welcome series!
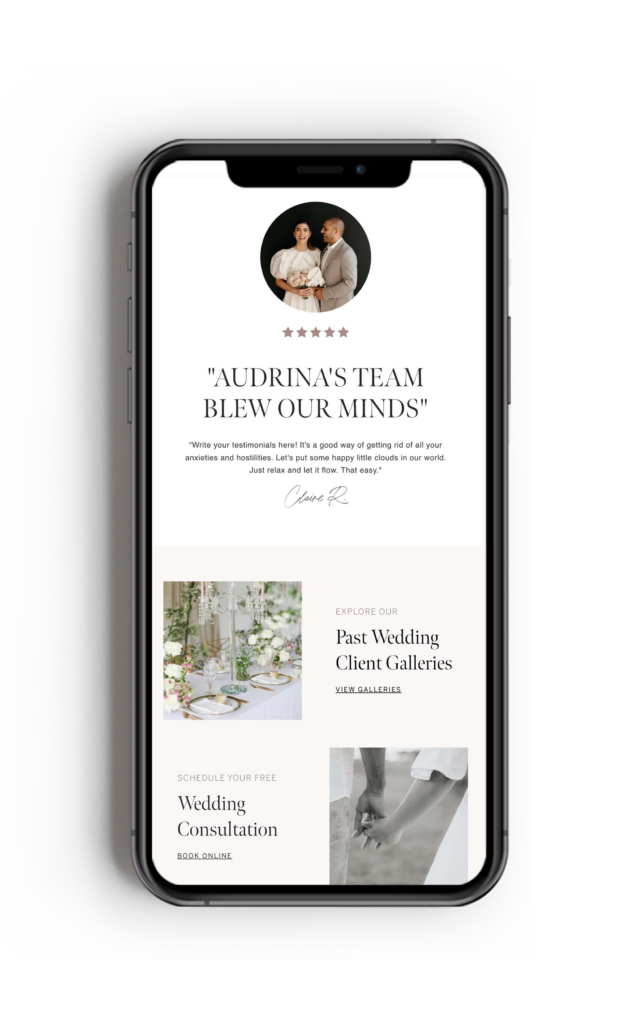
- Lead Nurturing: If someone downloads a freebie or signs up for a webinar, you can use a workflow to nurture them with valuable content and offers. The Audrina package/pricing guide template is perfect for providing detailed information and guiding leads through your services.
- Product Launch: Preparing for a big launch? Use a workflow to build excitement, provide sneak peeks, and guide your audience toward the big day.
- Abandoned Cart: For online stores, an abandoned cart workflow gently reminds customers to complete their purchase of items left in their cart.
- Post-Purchase: After someone buys from you, a post-purchase workflow can thank them, provide product usage tips, and introduce them to other products or services.
- Blog/Affiliate Marketing: If you’re focusing on content creation and affiliate marketing, a workflow that shares your latest blog posts or affiliate products can keep your audience engaged. The Daisy blog template is designed specifically for this purpose.
How to Create a Workflow in Flodesk
Now, let’s get to the fun part – how to create an email workflow in Flodesk! Follow these steps, and you’ll have a powerful email automation working for you in no time.
Step 1: Log in to Flodesk
First things first, log in to your Flodesk account. If you don’t have one yet, click here to sign up for a free trial and use my code CREATEWITHDANIELLE at checkout to get 25% off your first year of Flodesk. You also get this discount if purchasing one of my email templates directly and signing up from there.
Step 2: Go to the Workflows Section
Once you’re logged in, navigate to the “Workflows” section on the dashboard. This is where all the magic happens!
Step 3: Create a New Workflow
Click on “Create New Workflow.” You’ll be prompted to name your workflow—make sure it’s something descriptive, so you’ll easily recognize it later. You’ll get to choose from pre-made sequences that Flodesk has created or you can start from scratch. If you purchased one of my welcome emails, you can choose that saved design to start your workflow.

Step 4: Set Your Trigger
To start building your workflow, you’ll need to select a trigger. This is the action that kicks off the workflow.
For example, you could choose “When someone joins a segment” or “When someone submits a form.” Pick the trigger that best suits the purpose of your workflow. If you want to create a welcome series sequence for example, you’ll need to make sure your website form is connected to that segment. When they subscribe on that form, they’d be automatically added to that segment and to the workflow—where they start receiving emails without you having to lift a finger!
Step 5: Add Your Emails
Now comes the fun part – adding your emails! You can either create new emails from scratch or use my Flodesk email design templates to save time and ensure your emails look stunning. Each email can be customized with content, images, and links that reflect your brand and speak directly to your audience.
See how easy it is to design on Flodesk below! Easily swap out colors and images, add in your written content, and make any small tweaks you’d like. Their user-friendly interface makes it super easy to create stunning emails for your list.
To add an email, click “Add an Action,” then select “Send an Email.” You’ll be able to choose from existing emails or create a new one. Don’t forget to customize your subject lines to be engaging and relevant.
Step 6: Set Your Delays
After each email, you’ll want to set a delay to control when the next email is sent.
For example, you might want to wait a day or two between emails to give your subscribers time to engage with the content. Click “Add an Action,” then “Time Delay,” and choose the delay that makes the most sense for your workflow.
Step 7: Review and Test
Before you launch your workflow, take a moment to review and test it.
Look for any typos, broken links, or missing pieces. Sending test emails to yourself is a great way to see exactly how they’ll look in your subscribers’ inboxes.
Step 8: Publish Your Workflow
Once you’re happy with your workflow, hit “Publish,” and you’re done!
Your workflow will now run automatically based on the trigger you set, delivering your carefully crafted emails to your audience on autopilot. You’ll just need to make sure to create a form under “Forms” in Flodesk that is linked to that segment afterwards, and add the form to your website to start collecting subscribers!
Maximizing Your Workflow with Flodesk Email Templates
Setting up a workflow is a great way to automate your email marketing, but the true impact comes from the design and content of your emails. That’s where my Flodesk email design templates come in. They’re designed not only to look stunning but also to be highly functional and focused on driving conversions.
Here’s how these templates can benefit you:
- Save Time: No need to start from scratch – just tweak the templates to match your brand!
- Look Professional: Grab your subscribers’ attention with polished, professional designs that stand out in their inboxes.
- Increase Engagement: Attractive, well-crafted emails are more likely to be opened and interacted with, improving your overall email marketing success.
- Maintain Brand Consistency: Keeping your branding consistent across all your emails builds trust and recognition with your audience.
Final Thoughts
Setting up a workflow in Flodesk is simpler than you might think. By following the steps I’ve outlined, you can create an automated email sequence that saves you time, nurtures your audience, and helps your business growth. And with my Flodesk email design templates, you can make sure every email you send is both beautiful and impactful.
Ready to dive in? Let’s bring your email marketing workflow to life with Flodesk!
Disclaimer: This post includes affiliate links. If you go through them to make a purchase, I will earn a commission. Keep in mind that I only share about companies that I truly believe in and use myself! For my details on affiliate links, please visit my terms of use.

Feminine, Clean, Modern
Jessie Showit Template
Compatible With:

Budget-Friendly Showit Templates: Designed to help beginners create stunning websites with confidence. Starting at $275.

Bold, Editorial, Luxurious
Hailey Showit Template
Compatible With:


Inviting, Clean, Calm
Stacey Showit Template
Compatible With:

flodesk Email Templates
Showit Website Templates

Welcome Email Template
Jessie Flodesk Template
Compatible With:

DIY Email Templates: Pre-designed email templates that help you connect with your audience and grow your business.

Welcome Email Template
Hailey Flodesk Template
Compatible With:


Package & Pricing Email Template
Audrina Flodesk Template
Compatible With:

flodesk Email Templates
Showit Website Templates
Shop Our Best-Selling Design Templates


We help create a strategic custom designs that reflects who you really are, helps you reach your biggest business goals, and positions you as the expert you are. From comprehensive brand strategy and logo design to custom Showit websites you can actually update yourself, we handle every detail so you don't have to. Let's create something you'll be proud to call yours.
We take the time to understand your vision (& bring it to life for you)
Certified Showit & Flodesk Design Partner, hundreds of happy clients worldwide, and 3 consecutive "Best Web Designer" awards in our county.

Maybe your website is pretty good, but something feels off and you're wondering if it's time for an overhaul? Our comprehensive website audit checklist helps you evaluate your current site like a pro. Find out exactly what your site needs.
Get Your free audit checklist
Not sure if you need a full redesign or just some tweaks?

