


A hamburger-style menus are very on-trend right now, and is constantly seen on websites! Hamburger menus are the 3 line icon menus that open a side menu or drawer to display your navigation links. It’s typically seen on mobile designs to access your menu, but now it’s popular to have this on your desktop design as well. You can also do a simple drop down menu instead with this same effect. Want to know how? Here’s a tutorial on how to add a hamburger or dropdown menu on your desktop design on Showit!
Showit Drop Down Menu Tutorial
This tutorial requires some knowledge of Showit, and is suited for existing Showit users. If you’re a beginner in Showit and have not designed on this platform yet, I’d highly recommend a website template to start from my template shop with an existing hamburger menu, which includes my Showit online course to visually show you these steps by video instead!
1. Design your Header Canvas
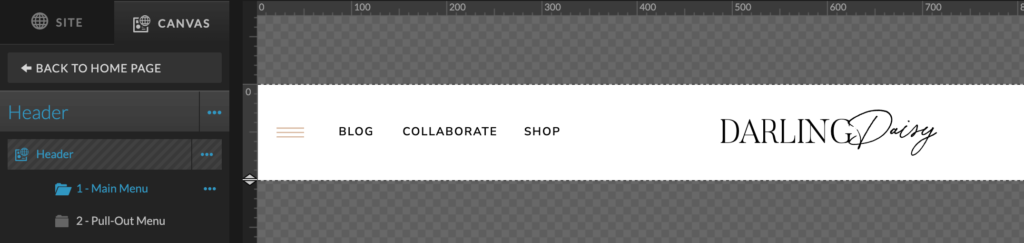
I’m going to be using my Darling Daisy template as an example for this tutorial. First, you’ll want to design your header by creating a blank canvas, or by using a template header canvas to start off. You’ll want to add 2 Canvas Views to this section! Canvas View 1 will be the main header that will show upon visiting the website, and Canvas View 2 will have your side menu design. You can create your main header design in View 1 to start off.
2. Design Menu Design
In your View 2, this is where you’ll create the design of your menu. There are hundreds of ways to design this style of menu and this step is all up to you!
For Pop-Out Hamburger Menus: First, you’d add a rectangle that will be the background of your menu. I typically lock it to the left or right to it pulls out when they press the menu icon. Afterwards, you can place images, texts, and icons on top of this rectangle to create your menu! You’ll want to set up the menu so that the links have Click Actions to the appropriate pages, and an X icon for visitors to click out.

For Pop-Out Hamburger Menus: You’d create the menu in View 2 right underneath the specific link it will be under. You can either have a longer menu, or a simple small square with some extra links.

3. Set Canvas Views Click Actions
You should now have two Canvas Views within your header canvas. View 1 with your main header design, and View 2 with your side menu design. Now it’s time to set some click actions in order for these views to show upon clicking!
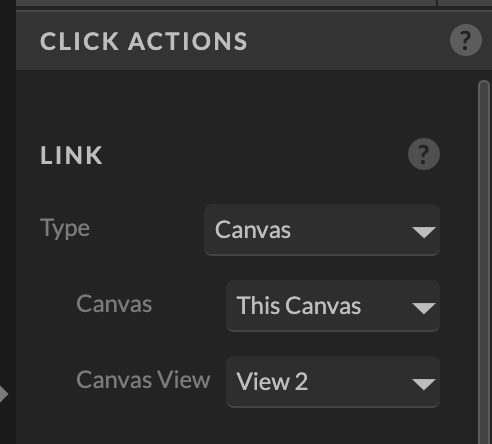
On the main header, you’ll want to click on the hamburger menu icon or the specific link you want to target, and set a click action as seen below: Canvas Type → This Canvas → View 2. On the side menu header, you’ll want to click on the “X” icon and set a click action to This Canvas → View 1. Now when someone clicks on the hamburger menu icon or desired link, that menu design will pop out, and clicking the X button brings them back to the main header! You did it 🙂
What If I Want No Header?
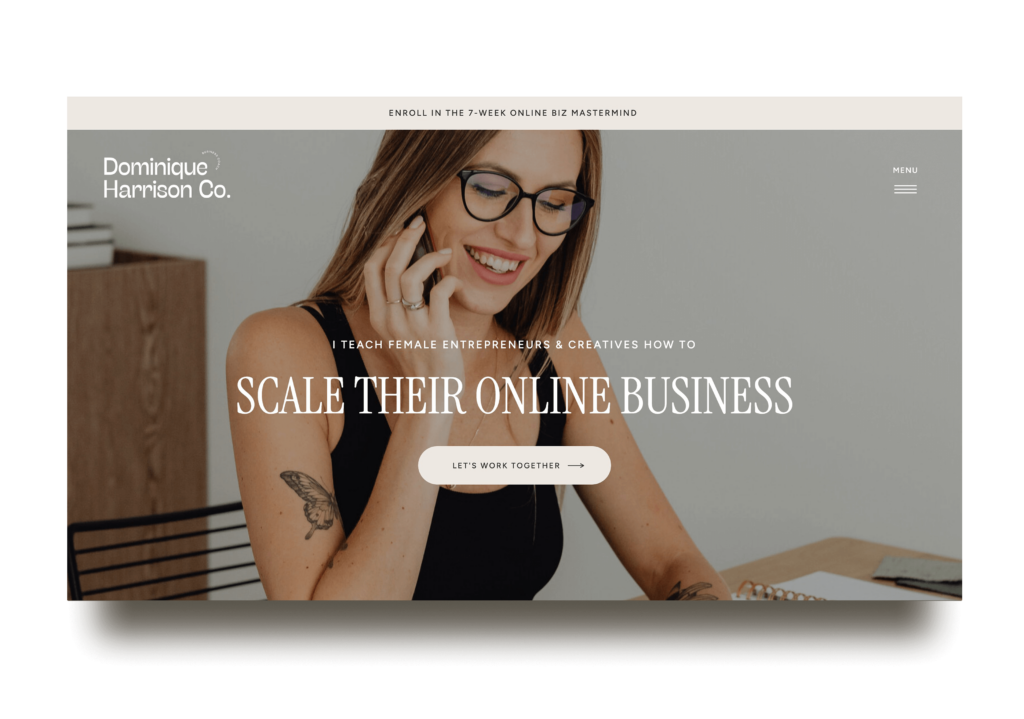
Sometimes, you’ll want no header at all with just a logo & icon on top of your hero image banner, similar to below. This is possible, but with just a few adjustments. You’ll still be creating 2 Canvas Views, but you’ll have to set the canvas height to 1px and the stacking order to be higher than the hero image banner. Having the stacking order higher will make the logo & menu placed on top of the hero image.
Since your Canvas Height is set to 1px, you’ll be designing on the gray area of the builder as seen below. Also, make sure to convert this canvas from a Page Canvas to a Site Canvas.


Want to Try out a Showit Template with a Menu Instead?
I offer a few website templates that have a hamburger menu design! You simply change the links, copy and images. Check out my website template shop to view the designs that have this option!

Feminine, Clean, Modern
Jessie Showit Template
Compatible With:

Budget-Friendly Showit Templates: Designed to help beginners create stunning websites with confidence. Starting at $275.

Bold, Editorial, Luxurious
Hailey Showit Template
Compatible With:


Inviting, Clean, Calm
Stacey Showit Template
Compatible With:

flodesk Email Templates
Showit Website Templates

Welcome Email Template
Jessie Flodesk Template
Compatible With:

DIY Email Templates: Pre-designed email templates that help you connect with your audience and grow your business.

Welcome Email Template
Hailey Flodesk Template
Compatible With:


Package & Pricing Email Template
Audrina Flodesk Template
Compatible With:

flodesk Email Templates
Showit Website Templates
Shop Our Best-Selling Design Templates


We help create a strategic custom designs that reflects who you really are, helps you reach your biggest business goals, and positions you as the expert you are. From comprehensive brand strategy and logo design to custom Showit websites you can actually update yourself, we handle every detail so you don't have to. Let's create something you'll be proud to call yours.
We take the time to understand your vision (& bring it to life for you)
Certified Showit & Flodesk Design Partner, hundreds of happy clients worldwide, and 3 consecutive "Best Web Designer" awards in our county.

Maybe your website is pretty good, but something feels off and you're wondering if it's time for an overhaul? Our comprehensive website audit checklist helps you evaluate your current site like a pro. Find out exactly what your site needs.
Get Your free audit checklist
Not sure if you need a full redesign or just some tweaks?

